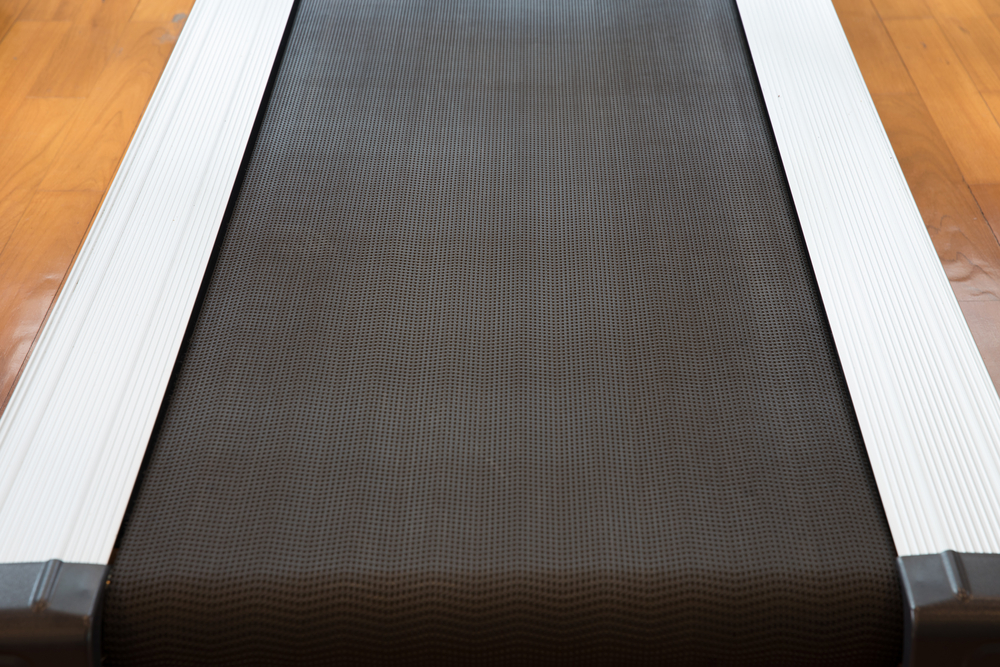
When you get a treadmill, whether new or used, it’s important to keep up with general maintenance and cleaning in order to have it last as long as possible throughout all your miles. Aside from extending the length of life on your treadmill, you also want to stay on top of the maintenance for your own safety! Loose belts, malfunctioning motors, and screens that don’t work are all nuances that need to be addressed before lacing up your sneakers and hitting the tread. Most importantly, the belt needs to be adjusted and tightened properly, otherwise, your walk or run will be very uncomfortable, and can possibly lead to injury.
How Do You Adjust The Belt On A Proform Treadmill?
Thankfully, the ProForm treadmill is fairly easy to adjust – the only tool you need is an Allen Wrench! If you don’t have one of your own, there should also be one (or a hex key) that came in the box with your treadmill, so you can use that as well. This is the same tool that you used to put the treadmill together if you got it new and had to put it together yourself!
Before you begin any maintenance on your treadmill, ensure that you’ve got the power cord unplugged. You don’t want to risk the belt starting or the motor revving up while your fingers are working! After ensuring the power is off, stand at the back of your treadmill, facing the screen. At the bottom of your treadmill (close to the ground. at the very back), are two idler rollers – and there will be corresponding holes to the bolts for these rollers that you can see. Use your Allen Wrench or hex key to turn each screw to the right ever so slightly.
To confirm that the belt is tightened properly, you should be able to lift approximately 3 inches of belt off the edge of the platform of the treadmill. Keep in mind though – if you use your Allen Wrench or hex key to adjust one side of the treadmill, don’t forget to do the same to the opposite side! When you feel as though you’ve adjusted your treadmill correctly, plug it back in and start walking on it – there should be no slack, and you should feel as though you’re moving comfortably on the tread.
Why Does My Treadmill Belt Keep Moving To One Side?
Typically, adjusting the back idler rollers on your treadmill securely will be enough to keep the treadmill belt from moving to either side of the treadmill. However, you might find that you are needing to reset them more often than not. One of the reasons for this might be that while you’re walking on the treadmill, you are favoring one side over the other. Many people find that they step more forcefully with one foot than the other, which can cause the belt to get out of the center. If that’s the case, you might have to adjust the belt more frequently in order to have it track correctly with use. Other times, the belt moves to one side or the other just due to not being tightened down enough while being put together. Either way, use your handy Allen Wrench or hex key to get the track tight and the belt centered.
How Do I Stop My Treadmill Belt From Slipping?
Let’s say that you’re running on your treadmill, and all of a sudden it feels as though it’s slipping a bit – this can happen for several reasons, but one of the main ones is that the belt is too tight. Again, check the gap between the belt and the treadmill platform; if this gap is less than 2-3 inches, your tread belt is too tight, which is causing the slipping sensation. This can also occur if your belt is too loose, so pull on the edge, and ensure that you’ve got enough of a gap for the tread to run smoothly! Another reason your treadmill might be slipping is due to too much friction – if you’re unsure of what is causing the slipping, don’t hesitate to contact your treadmill supply company!
Once you get your treadmill in tip-top shape, you can enjoy many years of use; just ensure that you’re doing proper maintenance, and check with your treadmill supplier or your instruction manual if you’ve encountered a problem you’re unable to fix.
