Imagine – you’ve got your spin bike picked out, it’s been delivered, and you’ve got it set up in the perfect spot within your home. Now, you can turn on some tunes, throw on your sneakers, and get ready for a ride….right?
Not just yet. After all, you need to ensure that your spin bike is properly fitted for you before you hop on and log some miles. Unfortunately, when we’re using fitness equipment at home, it can be a challenge to make sure everything is set correctly, especially without a fitness specialist or personal trainer around to ensure things are where they should be.
Now you might be thinking that the seat is the only part that needs adjusting. For some people, that might be the case. However, there are some other areas of the bike that might need tweaking before you can get on comfortably and avoid any pain or injury during your bike ride.
Before you start making any changes to the machine’s initial setup, get on and see how it feels. This is, of course, after the spin bike has been properly put together and secured. If you’re new to cycling, it might feel awkward in general the first time you get on your bike. And likewise, if you’re an avid rider, then you’ll probably know what changes need to be made. Regardless, let’s take a look at how to properly set up your spin bike before you start burning some calories!
Seat Adjustment
The seat is one of the first areas on your spin bike that most people adjust first. Spin bike seats are typically smaller in width than those on a stationary bike or recumbent bike. So not much can be done about the comfort level there unless you want to swap out the spin bike seat for another one.
You can, however, adjust the seat up and down. Some bikes also allow you to move the seat forward and backward. For most riders, you want the height of the spin bike seat to hit right at the level of your hip bone when you are standing tall beside the bike. This will allow your legs to move through their full range of motion (while having a seat too low will limit your movement, and having a seat too high will not allow for proper flexion of the knee).
Most spin bikes will also have numbers listed on the seat post, so you can see where your comfort level is and then adjust back to it quickly if you happen to be sharing the bike with someone else in your household who might require a different setting. Although this will vary from bike to bike, a simple twist and pull knob adjusts most seat heights.
Pedal Adjustment
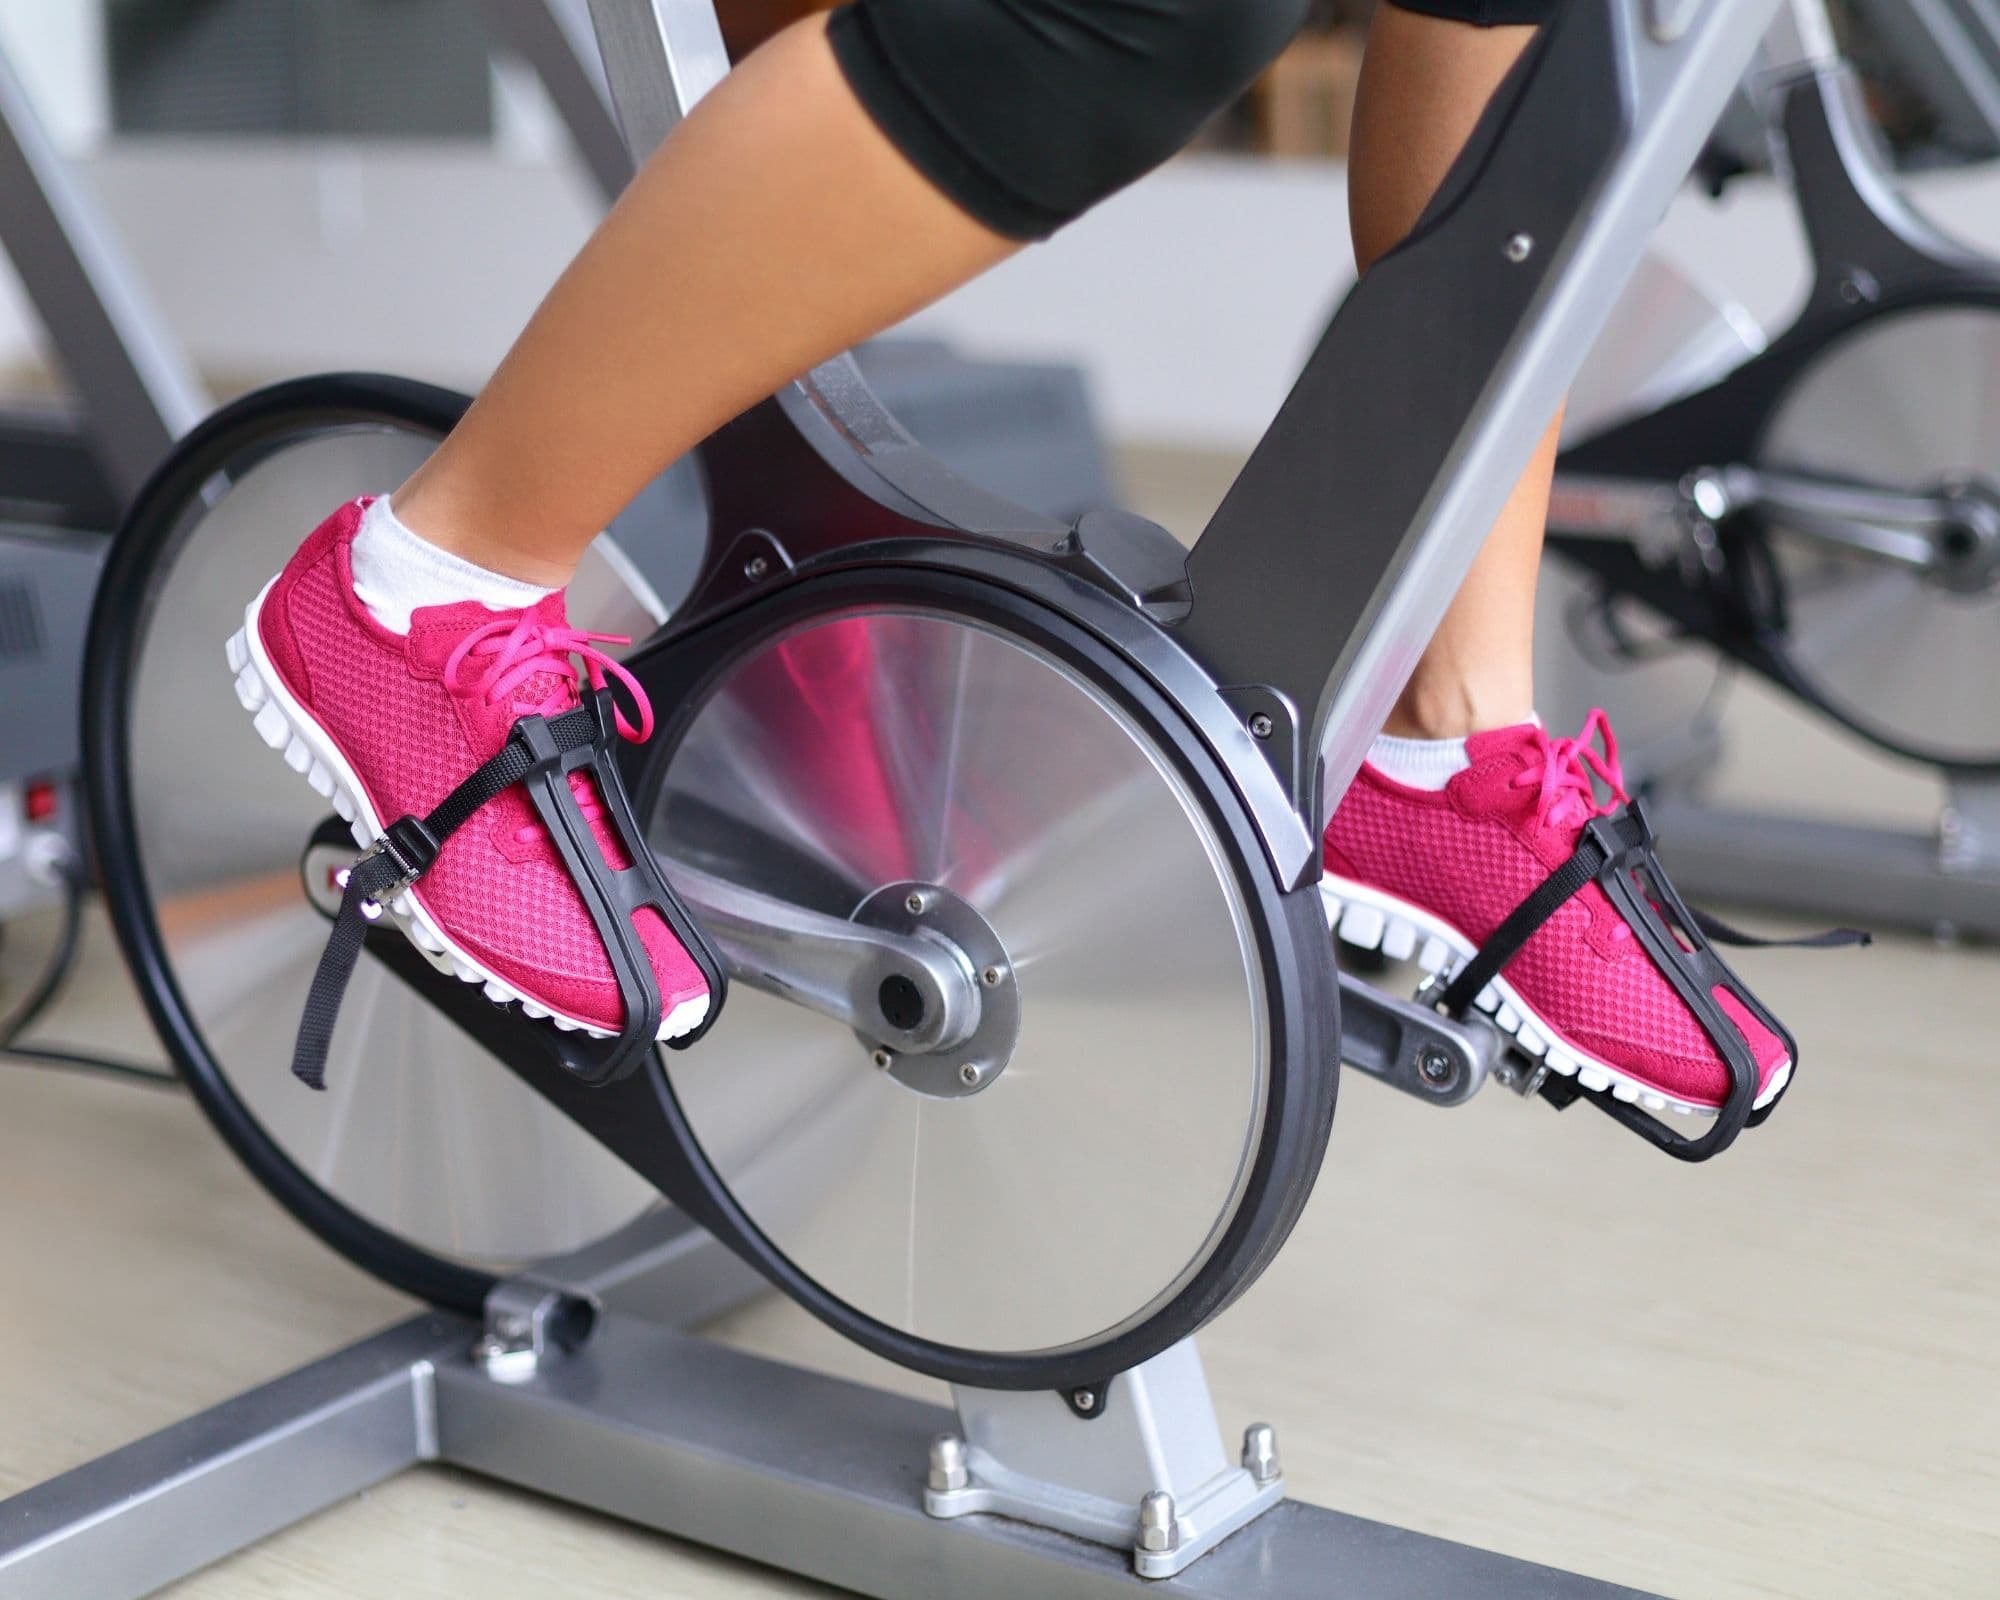
Probably not an area of your bike that you think about until you are already in the saddle and ready to ride – but the pedals (especially if you have toe cages) are easy to adjust and can make your ride a lot more comfortable.
Depending upon what pedals you have, you should be able to either clip in with cycle shoes, slip your toes into the cages, or just have your feet on the pedals by themselves. Regardless of what type of foot positioning you have, ensure that your feet are correctly fitted – mainly, so your feet don’t come out of the clip or cage as you ride!
Handlebar Adjustment
The handlebars on spin bikes can be a significant adjustment area, especially if the bike is new. You should be able to adjust your handlebars up and down, and some bikes can also accommodate forward and back. So how do you know the proper place to position the handlebars?
Depending upon whether you are leaning forward on your forearms or cycling more upright, you want to be able to have your posture in a comfortable position during your ride – and if it isn’t, you’ll soon notice it throughout your lower and upper back.
A comfortable grip, flexed elbows, and depressed and retracted shoulder blades will all have you riding contently! Think about your legs during this process, too. If the handlebars are really low, you risk bumping your knees into your arms or elbows as you pedal.
Bottom Line
If you have made the necessary changes to your seat, pedals, and handlebars on your spin bike (and you still aren’t comfortable), see if you can speak to a local fitness specialist or even a riding buddy to see if they can help you a bit. While the changes may seem simple, it can be challenging to see what needs to be adjusted when you’re actually on the bike. Once you’ve got the bike situated the way you need it to ride comfortably, all that’s left is to lace up and get pedaling!
